

Google Analytics and Google Search Console are two comprehensive and free tools you can use on your WordPress website.
Google Analytics will tell you about the traffic coming to your site, where they came from, what pages they viewed, how long they stayed and so much more.
Google Search Console will give you information about how Google sees your site. It also include information about Google's crawling of your site including any errors or issues. You can also see information about impressions (the number of times your site was shown for keyword search) and clicks to your site. There's a wealth of information in this tool.
But what if you're afraid of mucking around with code on your website? Afraid you might break something or do something wrong?
Google just released a new WordPress plugin that makes all of this super easy.
It's called Site Kit and it's available in WordPress Plugins. Site Kit doesn't require you know any code or cut and paste code to your site, making it super simple to get things set up.
All you need to start is a WordPress website (self hosted, not WordPress.com) and a Google Account. If you have a Gmail account, you already have one!
Start by Getting a Google Analytics Account
You need a Google account before you can install Google Analytics. Do you have a YouTube or Gmail account? If so, you are ready to get started. If not, go to accounts.google.com and sign up for a free account.
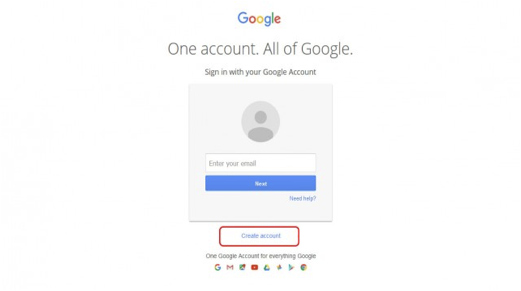
Upon completion you will be automatically logged in to your new Google account.
Signing Up for Google Analytics
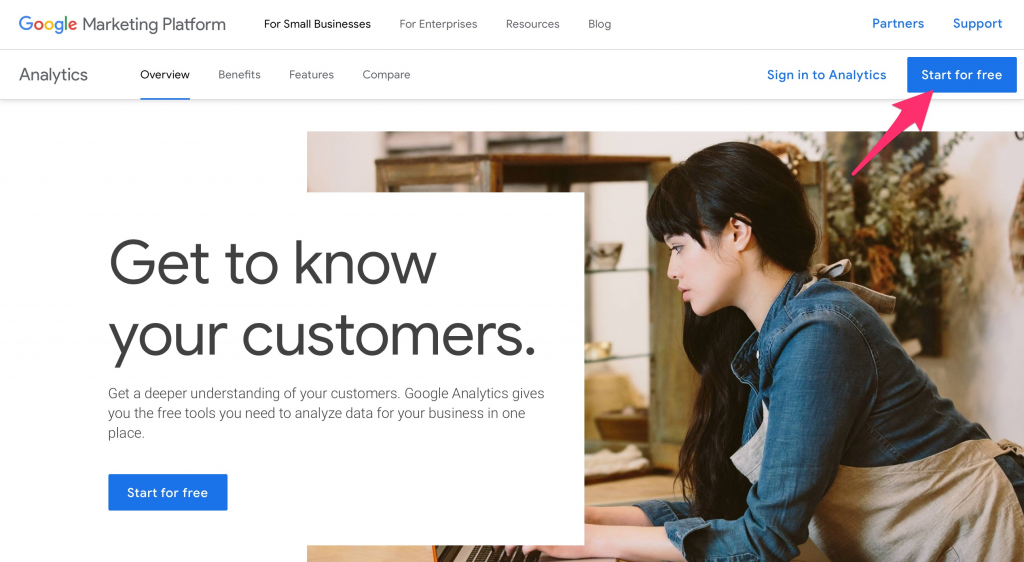
After logging into your existing Google account or creating a new one, head over to Google.com/Analytics. Sign up in the upper right-hand corner of the Google Analytics homepage. Click Start for Free.
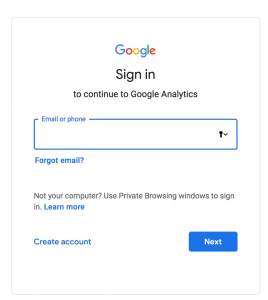
You will be taken to a page where you will either login to an existing Google account or create a Google account to use.
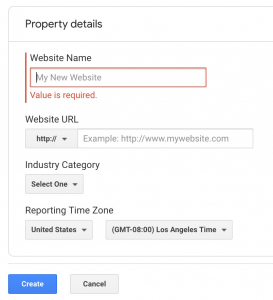
Click the Sign Up button. You'll be taken to a page which looks like the picture below. Under New Account at the top of the page, choose Website. (Note: whether you have a blog or a website-based business, click on the Website option, and not Mobile App.)
Choose an Account Name. Fill in the fields for your Website Name and URL. You will be asked to choose how much data you would like to share with Google.
Next create a Property:
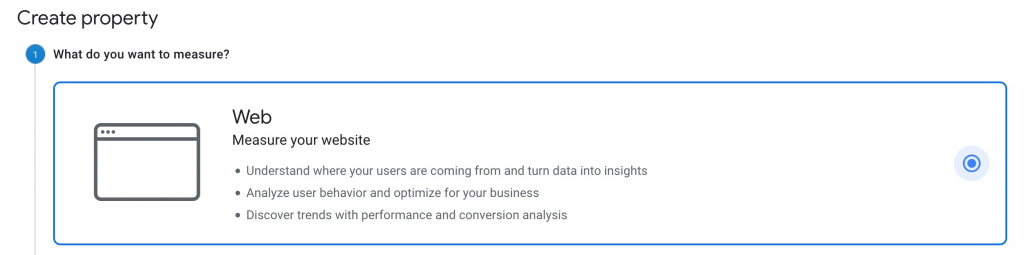
Choose Web and click the blue continue button.
In part 2, you'll add your website's name and the URL. Be sure to choose https:// if your site is secure. Then click create.
When you complete this step and click Create, you'll be taken to the page with the tracking code you'll need to add to your site.
Congratulations! You now own a Google Analytics account, and are ready to start tracking, interpreting, and benefiting from traffic data.
Installing Site Kit
We'll be setting up Google Search Console and Google Analytics on your site in the next steps.
Head over to your WordPress dashboard to Plugins and click Add New, then search for “Site Kit by Google”
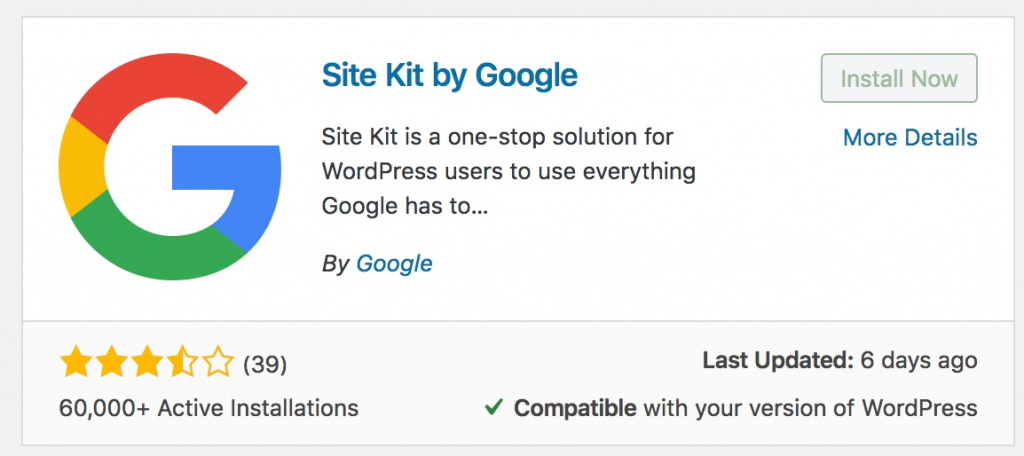
Install and Activate the plugin. You'll see a Start Setup button, click it to begin.
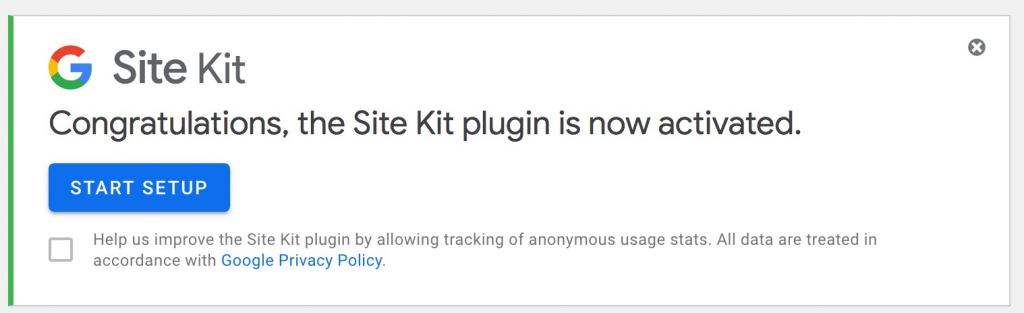
You can choose to share usage stats with Google, it's optional and up to you.
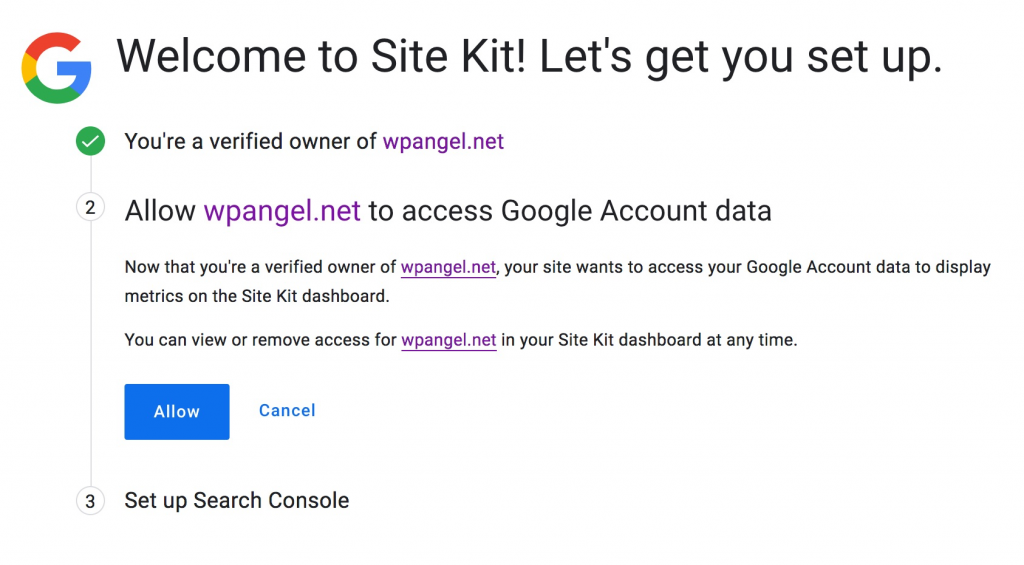
Next you'll see the first step, you'll need your Google Account handy to do this.
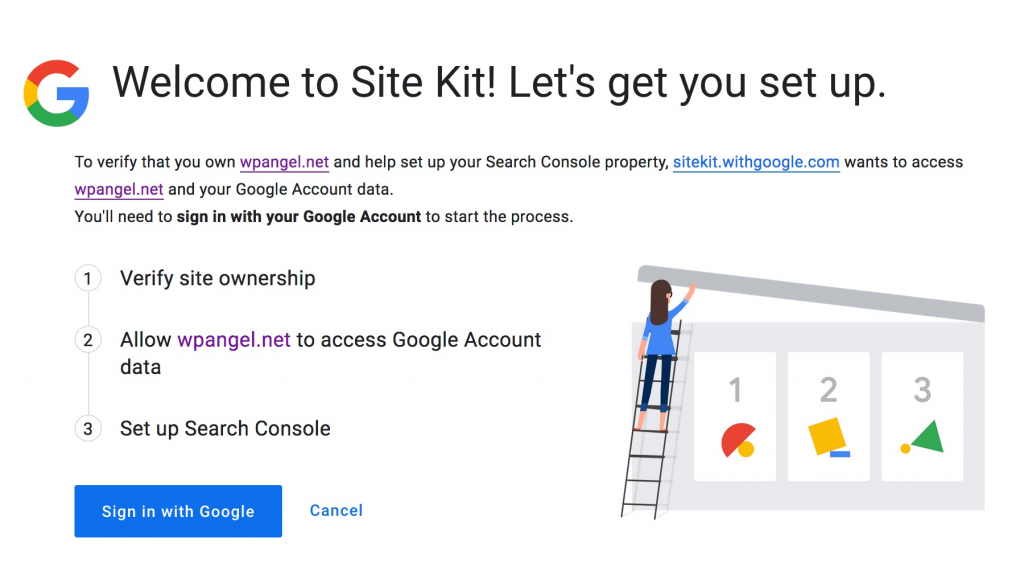
Click Sign in with Google and on the next screen you can choose your Google account. If you're not already logged in, you'll be prompted for your password.
Then you'll approve permissions.
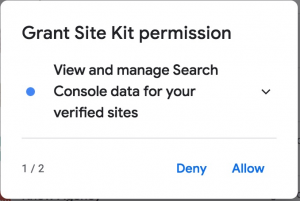
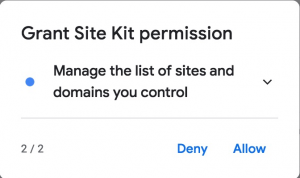
Click Allow for each of these.
Next you'll see the page to Confirm your choices:
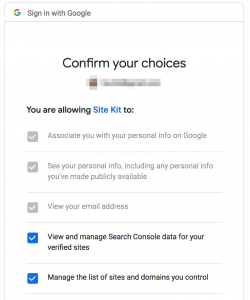
Scroll down and click Allow
Next is step 2
Click Allow here. If you're already set up in Google's Search Console, you'll see this screen, otherwise you may have an additional step to allow.
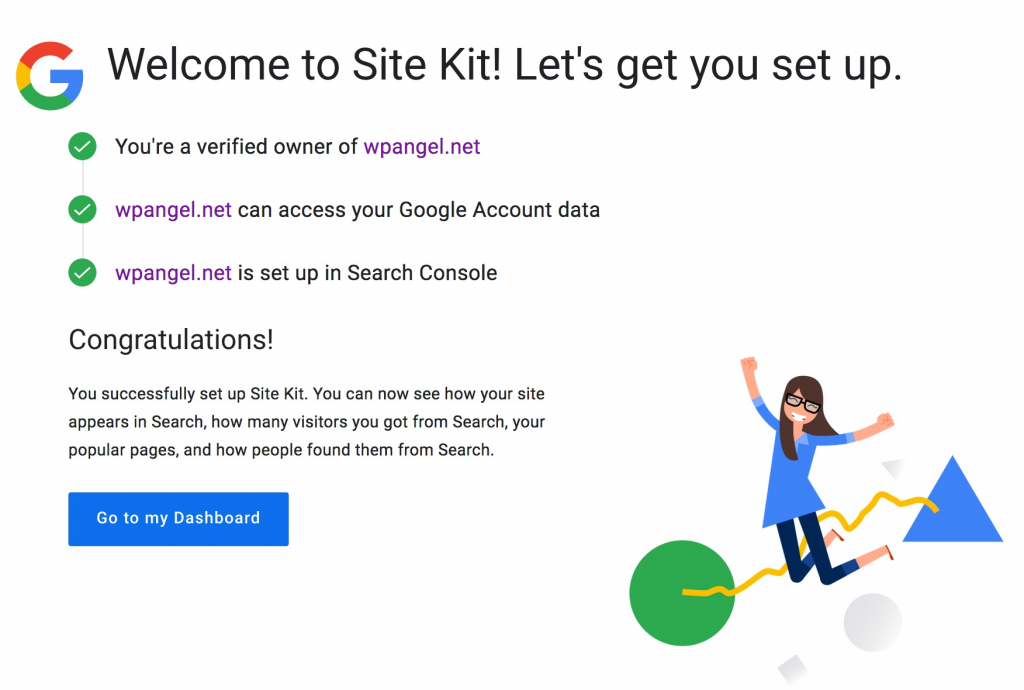
Click Go to my Dashboard and this will take you back your WordPress Dashboard on your site, where you will see the Site Kit information with which services you've set up.
At first, you'll see the green checkmark next to Search Console. We still need to add Google Analytics.
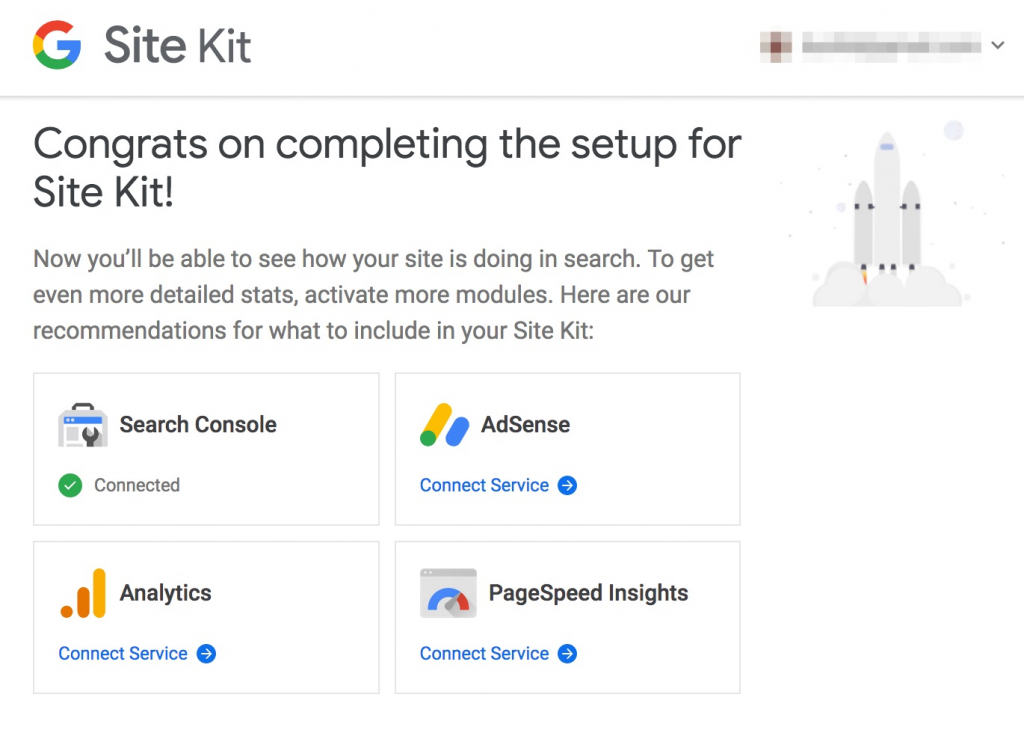
Next enable Analytics. Click Connect Service under Analytics, then choose your Google Account.
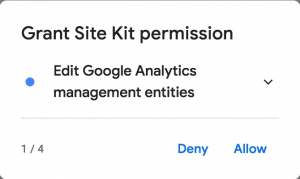
Allow Permissions, there are 4 for this one.


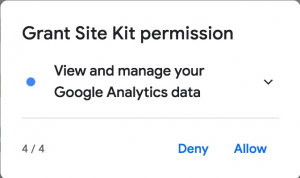
Next you'll see the page to Confirm your choices:
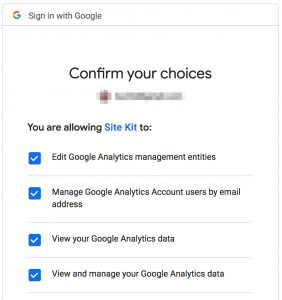
Scroll down and click the Allow button.
Next Site Kit will scan your site for a moment, to see if you've added Google Analytics, if you started fresh with this article, you haven't so you'll see a screen like this:
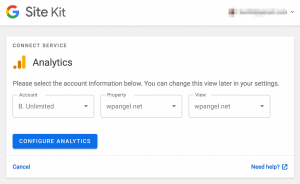
Choose your Google Analytics Account, then the Property and View for your site.
Then click Configure Analytics and you'll see the Congrats message along with the green checkmark showing that Analytics is set up.
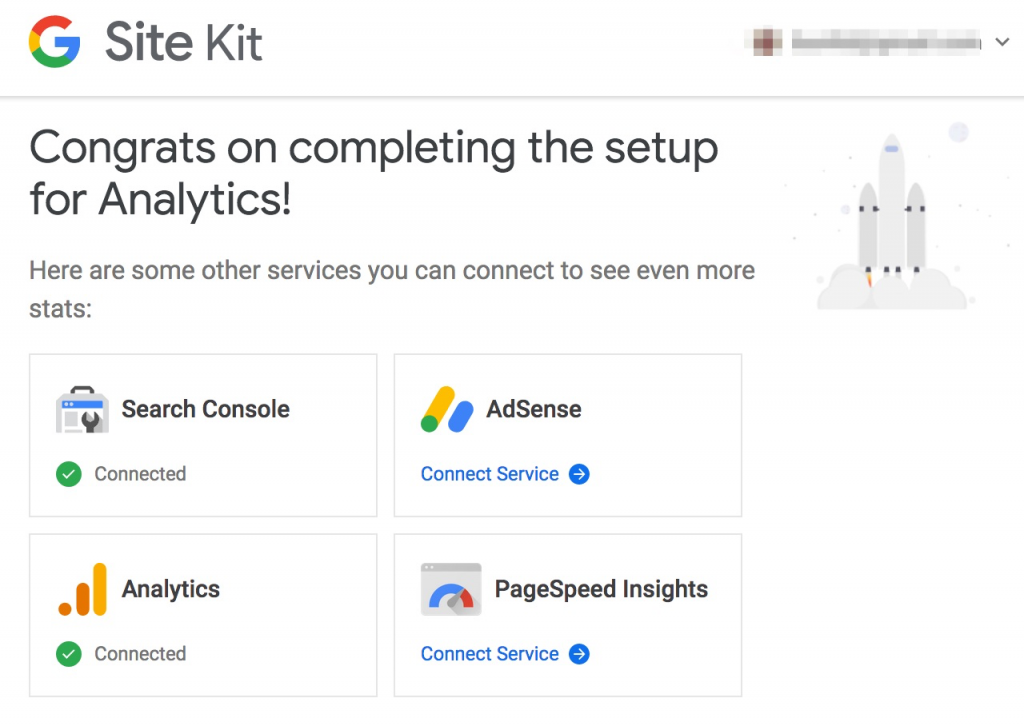
Don't worry about Adsense, you don't need to add this unless you are running Adsense ads on your site.
Optional: you can also enable PageSpeed Insights to get information on how fast your site loads.
You can click the Okay Got It link to dismiss this box. You can always see what services you've enabled under Site Kit > Settings.
Note: you'll likely get an alert email from Google with the title “Security alert for your linked Google Account.” Don't worry, this is just because you've set these items up.
Now that Google Analytics is set up on your website or blog, you need to give Google up to 24 hours to begin collecting data. Google Search Console will also take some time to show data in the reports. Then you can begin to analyze important traffic data to help make your web business more successful.
Working with Site Kit
Since you've added Site Kit to your site, you'll see a new menu item for Site Kit.
Under Site Kit > Analytics you'll find several report sections pulling information from your Google Analytics account. They are:
- Audience overview for the last 28 days
- Top content over the last 28 days
- Top acquisition sources over the last 28 days
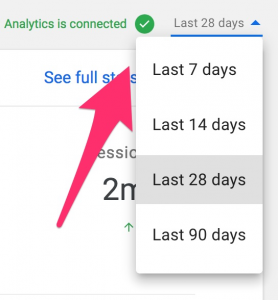
These reports default to show data over the last 28 days.
You can adjust this to show different time frames.
There's also a link to take you directly to Google Analytics for more data.
Also under Site Kit, you'll find an option for Search Console. This shows a report with sections for:
- Overview for the last 28 days (this is your clicks and impressions over on Google.)
- Top search queries over the last 28 days
You can adjust these reports by date range as well and each report section links you directly to your Google Search Console for your site.
You may have to give things a few days for data to be collected before it displays here.
They say that knowledge is power, what will you do with the new insights you've gained about your website?