
Now that Google said they would be using whether or not a site was secure and encrypted as a ranking factor, you may have been thinking about switching your site to use HTTPS. It's a “very lightweight signal” however, it seems that it's one they intend to keep around (their announcement mentions “giving webmasters a chance to switch”)
Lightweight signal means that if you have other SEO housekeeping items on your list, you might want to do those first, as this tweet demonstrates:
14 SEO Activities That Likely Deliver a Bigger Impact Than Moving to HTPPS http://t.co/NzaBOWVDsu pic.twitter.com/4hRULiAXyK
— Cyrus (@CyrusShepard) September 9, 2014
I wrote here about some of the issues you can run into when switching your WordPress based site to HTTPS. It can be fairly complicated, depending on the site. No matter what your site is like, there are quite a few steps, and we’ll get into pretty geeky, techy territory.
Warning: Dangerous Territory
If you’re not comfortable editing files like .php or .htaccess, making backups, installing plugins and generally touching the inner workings of your site – please get help. And if you are comfortable with all of those things, please make a backup of everything before you begin.
Every site is different, with different plugins, themes, on different hosting – so while this is exactly how it worked for me on one of my sites, your situation might be different and you could and probably will run into other issues. Isn’t the internet fun?
What I did was go through the entire process for this site and documented the steps and things encountered. Let’s get started.
Get an SSL Certificate
First you need to get an SSL certificate. The SSL certificate is something that gets installed on the server through your cPanel or WHM. Yes there are other control panels and things out there, but this is what I have. I used the cPanel route since not everyone will have a VPS or dedicated server with WHM.
For this site, I chose a standard certificate instead of the more expensive EV (extended validation) type. The standard certificate is easier and less expensive to obtain and still encrypts things just fine.
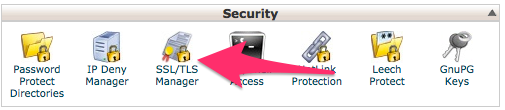
Login to your cPanel and look for SSL/TLS Manager.
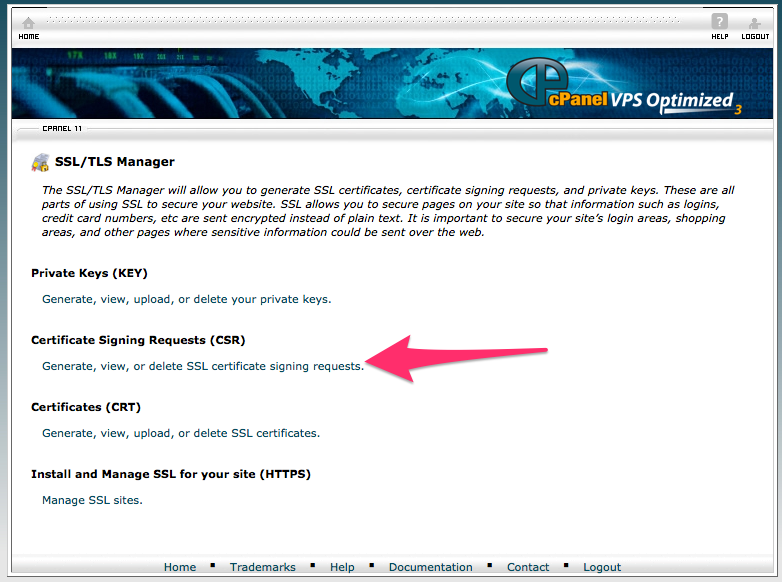
Click the icon then on the next page look for Certificate Signing Requests (CSR). This will take you to the screen so you can create your CSR – you’ll need this to get your certificate.
On this next screen you’ll provide some information about your domain.
For this part, be sure to get this right, it will save some time later in the process. If your site is www.yourdomain.com you should enter that in the domain box. If your site is located at yourdomain.com then you should enter that in the domain box. If you’re not sure, visit your site and look at the address bar of your browser. Once you've filled everything in, click Generate.
Now you’ll see a bunch of blocks of text on your screen. It looks like this:
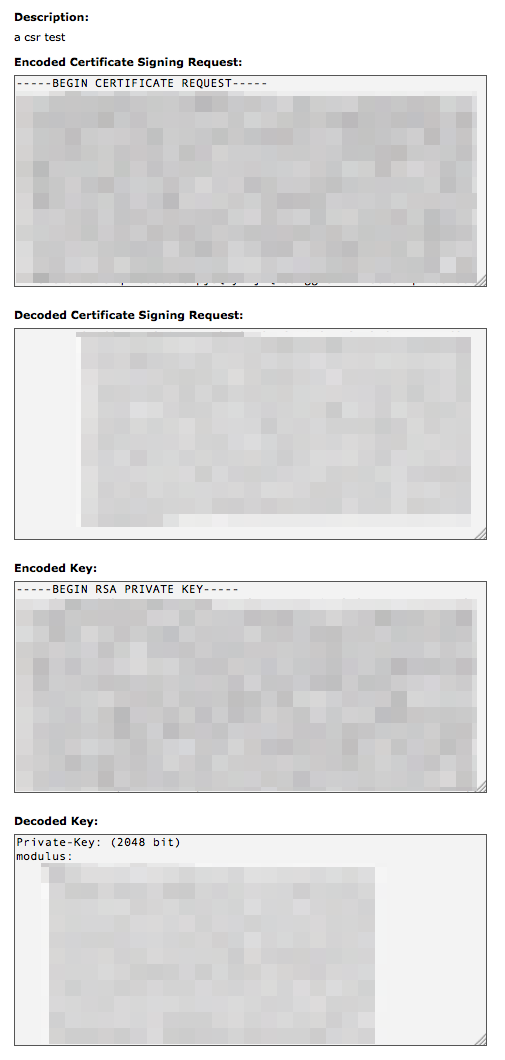
You’ll need to carefully copy and paste these text blocks into a text document, text, not an image, you’ll need it in a later step. You could also just keep this tab open in your browser so you can refer back to it when needed in a few minutes but better safe than sorry – copy that stuff to a text file, just in case!
While you’re still in cPanel go ahead and create an email forwarder – you’ll need this in the next step too. Create an email forwarder for [email protected] and forward it to whatever [email protected] happens to be – that way you’ll get it without having to create and set up another mailbox. This is something required by the certificate authority and you’ll want to keep that forwarder because it is where you’ll get the notices that your certificate is expiring going forward.
Time to Purchase the SSL Cert
Now you’re ready to get your certificate. Go to your chosen provider, (I used RapidSSL through one of my hosting providers) Go through their steps to purchase a certificate, you’ll need to provide the CSR and some other basic information. You’ll also need a specific email address on your domain to receive the domain approval email and other communication about the certificate. I used admin@ for mine. You don't get to choose which address this communication goes to, you must select one of their standard addresses, that's where the admin@ comes in.
After a little while, you’ll get an email asking you to approve the certificate request. Look over the information and make sure it’s correct. If it is, go ahead and approve it.
Another short wait, you’ll receive your SSL certificate in your email and be ready to install it on your server. A note: occasionally a certificate can be selected for manual review. It doesn’t happen often, but if it does you can contact the provider’s support to get it pushed along.
Get a Dedicated IP Address
If you don’t already have a dedicated IP address for your site, you’ll need to get one before you can install the SSL certificate and move on to the next steps. You’ll contact your hosting company for this. If you’re on a VPS or dedicated server, you can look in your WHM under Show IP Address usage – you may have one there you can assign. Otherwise, you’ll also need to talk to your host about provisioning more IPs.
Got that dedicated IP address? Good, now we can install the certificate on your server.
Install the Certificate
Login to your cPanel, then look for the Security section. You’re looking for the SSL/TLS manager. Click it. You’ll get a screen that looks like this.
From there you want to click the “Install and Manage SSL for your site (HTTPS) – click this link then scroll down to select your domain. This should match the domain you got the certificate issued for.
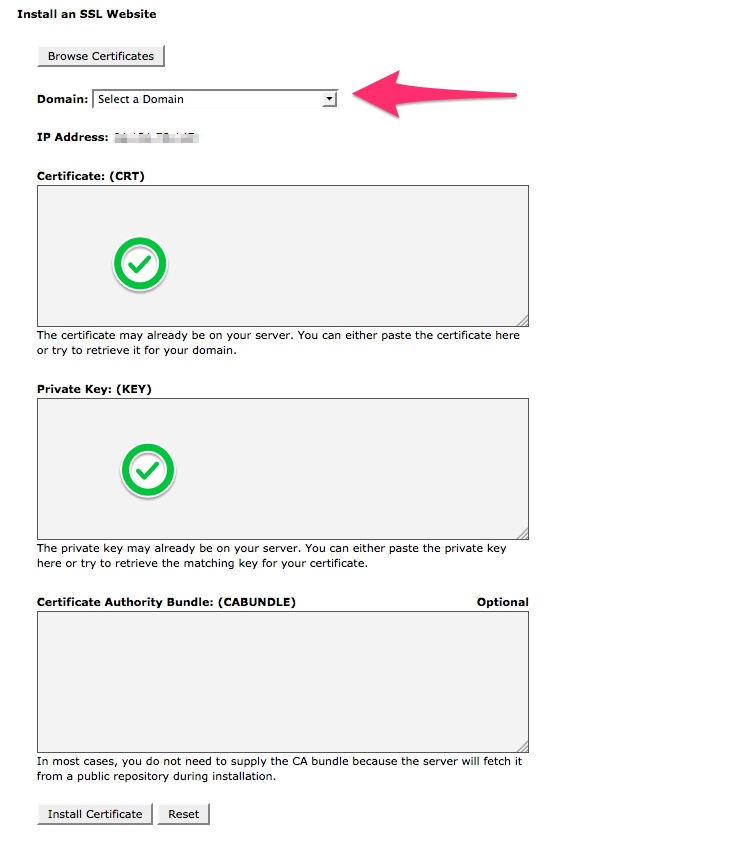
Once you’ve done this, copy the certificate from the email your SSL provider sent you.
The certificate looks just like the certificate request, only it has
—–BEGIN CERTIFICATE—–
some really long weird string full of characters and stuff….
—–END CERTIFICATE—–
Paste it into the CRT box. The server will automatically validate it and then you’ll need to add the private key. This was created when you created the certificate request. Go back to your text document for this.
The RSA Private key looks like this:
—–BEGIN RSA PRIVATE KEY——
some really long weird string full of characters and stuff….
—–END RSA PRIVATE KEY—–
Paste it into the private key box.
Now you’re ready to install it, click the Install Certificate button.
You’ll see a message, showing it was successful. Hooray, but we're not done.
That concludes part one – yes there is more, we need to make sure that WordPress and our site knows about the SSL certificate and that doesn’t happen on its own. Time to make changes in your WordPress Dashboard.
WordPress Changes
We need to make changes under Settings > General to the following:
WordPress Address (URL) and Site Address (URL) – just add the “s” after http – so now you’ll have https.
Like so:
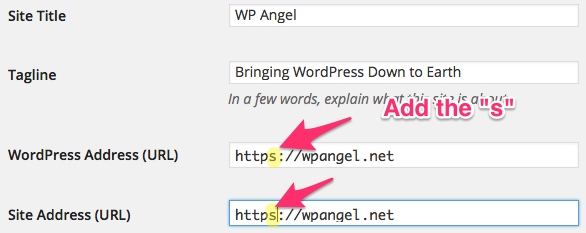
add the S
Then click save changes.
You’ll probably be prompted to login again, do it.
Redirects and .htaccess
For the next bit, you’ll need to be able to edit your .htaccess. You’re probably thinking, “why?” Well, now your site will show under https, but we don’t want the site to be seen by the search engines under both http and https – can you say duplicate content? That’s not good – so we need to add a few lines to our .htaccess to make sure that non-https requests get sent to the https version. This is similar to canonicalization for www vs. non-www.
Here’s the code I used, you’ll want to change the domain to reflect your situation.
(and as always, backup before you try this – just in case!)
RewriteEngine On
RewriteCond %{HTTPS} !on
RewriteRule (.*) https://%{HTTP_HOST}%{REQUEST_URI} [R=301,L]
This will redirect all requests to your site to https.
Once that’s done, the next thing you’ll want to do is make sure everything is coming up okay, you can use http://httpstatus.io/ to check the response codes and make sure you’re seeing 301 redirect for any http:// urls.
And you can visit your site, using https:// instead of http://
You’ll also want to add the following to your wp-config.php file.
define('FORCE_SSL_LOGIN', true);
This will force your site to use https for your login and in your Dashboard.
A Few More Things to Check
Now comes the part that will vary quite a bit depending on your site.
Now we need to make sure your site isn’t referencing any images, javascript, video or other elements in the source code of your pages without https. You can spot these when you view source on your site.
This includes any images you’ve referred to with their full URL – like http://
In my case, I’m using a Genesis theme – and using the Dashboard’s Appearance > Background to set it. It defaults to http – to fix this you need to do the following:
Remove the image and then re-choose it. It will automatically update to https for you.
Any other images you’ve referenced in your content without https will need to be updated as well. We want to do this because leaving http will generate an extra redirect for that image request – and those extra redirects and requests and slow your site down, it’s better to fix these kinds of things the right way.
Also, visit Appearance > Menus – and click to update each menu. You don’t have to change anything, just edit each menu and click save. This will make sure the menus are all using https for their links. If you have any Custom links in your menus, you’ll need to update them manually.
Next visit Appearance > Widgets – if you have any text widgets that include html for images or links without https – fix them too.
I also noticed that in WordPress SEO, under Social, Frontpage settings, the image url there needed to be manually updated to include https as well as the default image setting. This makes sure your Facebook OpenGraph stuff references the right stuff – remember we don’t want unnecessary redirects.
Alright, now I”ve got a bunch of posts and pages with images in them, and they’re not showing because they’re doing some kind of 302 redirect thing. Best case, is to update those and replace http:// with https://
That can be tedious or close to impossible if you’ve got a lot of content in your site. There are a couple of ways to do this, manually (ugh!) or by using a plugin that can do the heavy lifting for you.
I decided to use a plugin called Search and Replace
Be sure to backup your database before trying this – in case anything unexpected happens. Do it now, okay?
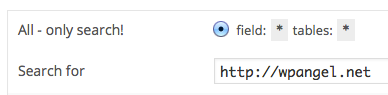
Okay, you’ve got your backup of your database and you’re ready to change the urls in your content. We’re only going to change things with https://wpangel.net in them – you’ll use your domain for your site.
Once you’ve got the plugin and installed it, you’ll find it under Tools > Search and Replace.
Here’s what we want to have happen:
First let’s do a search and see what it finds. You’ll use the top part of the form for that.
This will show you how many times that is found in your site. If you click the Result link, it will show you, highlighted where it found things.
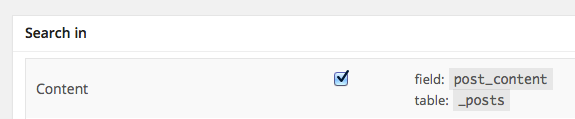
Scroll down and look for the Search in section. You’ll check Content. This focuses the work on just the things that need changing.
Now, scroll down a little further until you see the Search for and Replace with fields. This is where we make the magic happen.
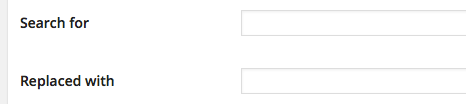
in my case, I want to replace:
with
Once you’re done, check your site, any images that were loading under http:// should now be https:// – with no more unneeded redirects.
Remember to deactivate and delete the plugin when you’re done, this is one of those things you don’t want to leave hanging around, when you don’t need to.
Other Places Things Can Hide
Other places you may need to look: in your theme’s css file. If there are any hard coded images loading there, they’ll need to be updated. Yours may not have any, or it may have quite a few – either way, take a moment and fix them, too.
Depending on your situation, you might be done, but if your theme, or a plugin you’re using hardcodes things in – you might need to contact the theme or plugin developer and let them know – so hopefully they can fix it.
In some cases, you might not be able to do that – in that case, you might want to look for another plugin to do the same job, or updating or replacing your theme. A word on themes: if you’re not using a child theme, and have made customizations to your theme files – don’t just update – you’ll overwrite your changes. You’ll need some help to get things sorted out. (that’s another post I need to write)
Does this post make your eyes glaze over? Still want to secure your site to please the ranking gods? I can help with that.